
Making Reels in Studio
Studio is inside Creator Center, under Marketing & reviews in the left sidebar.
Make a Reel
Studio makes a Reel from photos, from clips, or from a recording you make right in the browser. It then hands the finished video to a new post. Open Creator Center → Studio → New video.
- Pick what you are making: a Reel (tall), a Square post or a Long video (wide). Working across several businesses? You are asked which business first.
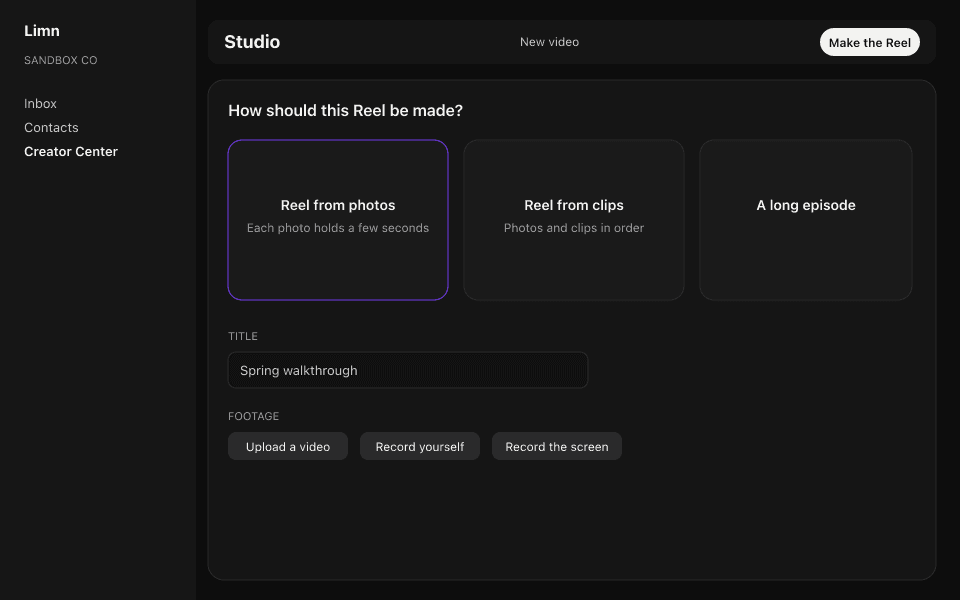
- Pick how you start: Record now, Your photos (each photo holds three seconds with a slow pan), Your clips (photos and clips in the order you tap them), A saved template or Blank timeline. Your clips includes a stock video search.
- Give it a Title. Your photos also asks for an Opening line, a Closing line, a Look and Music. Add footage with Upload a video, Record yourself or Record the screen. Uploads can be MP4, MOV or WebM, up to 4 GB.
- When you record, press Start recording and then Stop. Watch it back, then choose Use this clip, Record again or Discard. Nothing is kept until you choose. A Long video also offers Record your voice.
- Press Make the Reel (or Make the post, or Make the video) to open the editor.
- In the editor press Render, then Versions → Save this render and Approve it.
- Press Post it. A new post opens with the video already attached. Finish it the way the social posts guide describes, and saving it brings you back to the video.
Use Send for review in step 6 instead of Approve if someone else should look first. Once a project has versions, Post it stays greyed out until one is approved.
More guides
Something on screen not matching these steps? Write to support@launchwithlimn.com with the name of the screen you were on.